A fun knit

This is a draft that I needed to add photos to before I published it…. A few are photos that I took along the way, and finally today, I took the final photos. Here they are, only a few months later… Ok, I’m working on my procrastination issues.

image

These are the beautiful yarns I used for this project. All were hand spun, with the exception of 3- the Hank of pink, the mohair, and the one with a label.

Today I finished knitting a super fun wrap. Every now and then I find a little piece of “unique and interesting”, that captures my attention in a very obsessed  way.  While at the Columbus fiber fair I found some beautiful hand spun yarn. The yarn was spun with beads and ribbon, it was irresistible. The yarn was perfect for a pattern she had, to make the free form yarn shawl. I selected several yarns from her shop to start knitting this little gem of a piece.

You start with a rectangle and then you bind off and pick up stitches as you go using the different yarns and going different directions. It was refreshing to knit something that you basically make up as you knit along. I did not bind off every time I switched yarn. Sometimes I just changed colors or texture and kept right on going. I pulled all of the long end pieces to the front and added beads. Some of the yarn already had beads so this was an extra embellishment idea that added more bling to the shawl.

image

This photo is the early stages of the knitting.

I didn’t have to go far to find the yarn,  because Kathy was the vendor right next to us. Wow …the beautiful stuff she spins. You can find her on etsy : unique designs by Kathy is the name of her shop.

Here is the completed shawl.

image

image

This truly was a project that I could not put down once I started.

Try new things…. it’s good for the creative gene.

Be happy and have a happy life crafting.

Janette Boas

Grandmas Brag Box

Photo Brag box
Photo Brag box
Inside
Inside
This little brag box is perfect for special photos. I made this one out of the “sweet little things” Stampin up designer series paper (DSP) Which is perfect for a baby gift. Of course you can use any themed paper to personalize it. Pictures of pets would be cute too.

I used various Stampin up, stamp sets and punches to embellish the tin. The ink and other paper colors used, are the same as in the DSP. The paper is available in the current catalog.

Accordion photo book
Flip side of book
Flip side of book
This was a fun project……feel free to copy and share….visit my online store by clicking : Here

Remember to have a happy life crafting,

Janette


Card Club

A few Halloween goodies using the new holiday product.
More fun greeting cards.
Card class in session...having fun.
Card class in session…having fun.
I wanted to take a minute to post pictures of the fun  projects we have been doing in our stamping classes.

Stamping is one of the fun crafty activities that keep me busy. I really enjoy the time I spend doing this craft and I also enjoy the friends that share their time doing it with me. Whether it is a class room setting or a group of gals getting together to work on individual projects…… There is never a loss of creativity. We share ideas, and learn from one another. It is simply fun sharing our craft and time together.

Here are a few more pictures :

Greeting card and goodie bag
Thinking of you and welcome baby greeting cards.
Coloring with alcohol and ink.
If you have any question about the Stampin up products used, please feel free to contact me or visit my online store by clicking this link: Stampinup

Have a happy life crafting, Janette


A home for all knitted items

After shopping at several thrift stores and antique places, looking for a dresser I could revamp, to hold all my hand knitted items, I found this dresser at goodwill for $39.95. It sat in the garage for several months waiting for its transformation.

Not sure of the technique I wanted to use, I learned that chalk paint was a popular method. Anna and Joseph chalk painted Karolinas crib,which turned out beautiful. A friend from knitting was sharing pictures of a few pieces that she transformed that also turned out great. I was definitely inspired to look further into the chalk paint method of restoration.

I decided to visit the local Annie Sloan, chalk paint store and it was ” WOW”. My inspiration turned into “must do it now”. I was 100% motivated to get that dresser ready to house all of my knitted cowls, socks, and scarves.

Steves part of the plan was to replace the bottoms of each drawer with red cedar.  He was also thrilled to know that the dresser would finally be leaving the garage. With both of us ready and willing, the task began. He graciously replaced the bottoms of the drawers with cedar, and I started  the painting and waxing. Before long the dresser was finished.

image image

image image

image   image

image image

image image

image image

image


Crafting of any kind is fun and rewarding. The dresser turned out shabby chic. I highly recommend using chalk paint on your next project.  Here is a quick, sneak peek of how I painted the dresser.

I really like how it turned out….. And am grateful for the help of my hunky, who took the project over the top by adding the cedar bottoms.  Now I have all my knitted clothing in one spot and the cedar will keep the moths off the wool. I’m adding a few lavender sachets, which also keep wool eating bugs away.

Be happy …. And have a happy life crafting.

Janette


Finding Hidden Treasures

Steve and I consider anything we do together a date. It keeps us sharing with each other, what we both like to do. This weekend we went to an estate sale that was recommended by a friend of mine, who enjoys papercrafting as much as I do. This estate sale had art supplies from a lady, who’s creative side had no limits. 

It was amazing. We went on the second day, so of course things were picked over, however there was still tons of stuff left. As I walked the rows, going through each box, I was amazed by her collection. Creative memories, Stampin up, Tim holts, sizzix, inks, refills, stamps upon stamps, stickers, dies, brand new big shots….. Then knitting supplies, yarn, needles, etc…… Then painting supplies….jewelry making supplies… Oh, the Swarovski crystal collection …..I couldn’t count how many sewing machines…. Doll making supplies…. Paper…. Material, beautiful prints and fat quarters for quilting ; A whole wall all color coordinated, like you would find in the store. On the back porch there was floral arranging materials, with lots of flowers. It was a crafters dream.

I imagined this precious women, who obviously had a love for creating. There was all her stuff, for the taking….. I looked at Steve and said “this will be me someday ” and he said “yes”. I kept plucking along, rummaging through looking for little treasures. Then I found a mini book she had made with Graphic 45 paper. A sadness came over me because  no one in her family, had claimed that book as their own. Of course my mind wandered off to wonder, if my own kids would find joy in some of the creations I leave behind, when I go. I  picked it up and carefully thummed through each page. Reading the sweet messages that had been carefully adhered to the pages. As Steve stood there very quietly watching me look at and admire each page, I said to him ” I can’t believe no one took this, its beautiful,  I need a new address book anyway” ( I accidently threw mine in the trash late last year.) Steve replied with ” how much are they asking for it ” It was only $3.00. I know the paper, used to make it was atleast $25.00. What a cherishable bargain. 

We bought the book.  Steve told me later, when he was paying for my selected items, while I continued to rummage, the lady ringing him up commented on nice the book was;  He proceeded to tell her that his wife was surprised that no one in the family kept it, and let her know that the book was going to someone who enjoys making the same type of books, and will appreciate it very much. 


This photo here, shows a hand written name and address…..I can only guess that she wanted  to remember where she bought this kit from, or she wanted the person who got the book, to know where it originated from. I went to the website…. They sell beautiful mini book kits. 


 After a quick glimpse of our future ….. We stopped at this little place and had breakfast. It was all worth the drive, and of course my company was awesome!  


You never know where life will take you, what you will learn, or what little treasures you will find along the way. 

Be happy …. And have a happy life crafting.

Thank you Janice, for the tip on the estate sale.

Janette 

On and off the needles. 

I finished knitting the zu zu petal scarf. It is amazing…. It sort of reminds me of a dickey. Do you remember those? My Grandma, Beth Tebbetts gave me one as a gift. She did a lot of traveling when she was still with us and always brought my sisters and I interesting, practical gifts. I actually learned about many things from her. I admired her for being a smart, strong, and independent women.

 Back on the the zu zu petal scarf. I knitted it with 4 ply, wolles yarn creations, cotton. It is a very easy pattern and a quick knit. I am looking forward to wearing it once the weather cools down a bit.  

During the blocking stage, I only needed to pin the scalloped edge. It laid nice and flat without pinning the other sides.  


I’m happy to share this. If you are a knitter, I highly recommend this pattern. It can be found here.

The cotton can be found here. 

With Zu Zu’s off the needles, I can concentrate on what’s still on the needles. Almost done. 

  
Enjoy

Be happy…. And have a happy life crafting. 

Janette

Switching Gears

This has been a whirlwind week and it’s coming to a screeching halt. Company on Monday, card class on Tuesday, knitting on Wednesday, re- grouped on Thursday….. Friday,  was celebrate international doughnut day with my number 3 grandson, Gavin. 

We had a very special day together that started at Dunkin Donuts. ( no photos) He then helped me pick out summer beach, vacation, toys at wallmart, for our upcoming Florida trip.  

He is a delightful child and extremely helpful. He told me, that man, who drives the big brown truck, brought him his new flip flops….. And wanted to know what will happen when the postman runs out of mail to deliver? 

When I forgot my phone  at home, he panicked and urged me to go back for it. Of course, I explained to him that there was a time when we didn’t have portable phones,  and everything was going to be ok. Well……no phone = no pictures. “see,  Grandma you should have gone back to get it”.  Oh, the conversations we have..

 Once I sat down for the evening to relax, I couldn’t put the knitting needles down. I finished the cowl I was working on. I’ll share pictures and pattern info, after I block it. I’m stuck on knitting……Does anyone else out there, get stuck on different crafts? I was on a paper binge, now I’m on a knitting binge. I typically try to balance my time, between all the things I love to do. However, every now and then something distracts me. 

With Stampin up it was the new catalog launch….now its this yarn I bought while in Kentucky, from Wolles cotton creations, I think I’m obsessed.  It’s 4 ply cotton with a beautiful color way,  called rose hips 2. I found a pattern that will work perfect with the yarn. The pattern is Reverse  Psychology and can be purchased on Ravelry for $5.00. This pattern can be knit with beads or without. I have chosen the bead option. Here are a few pictures of the yarn, beads and the little piece I’ve started.  


Doesn’t this yarn look irresistible? 


The pattern is very simple. I’ve only knitted a few rows, but the pattern is well written and easy to understand so far. 


My project awaits…… 

Enjoy whatever gear you get stuck in…..

Be happy…. And have a happy life crafting.

Janette

Cherry On Top

Nothing says summer like this cheerful paper, cherry on top!

We will be using it during our stamp class today, to make the sour cream, treat container.  If you haven’t made one, I hope this paper inspires you.

Today is the day we, have been waiting for. The 2015-2016 catalog premier for Stampin’up.

Check out all the new products by clicking shop now, at the top menu bar or click here: my store There are also weekly deals, and clearance items you can browse through.

Here is a fun envelope card using the colorful, cherry on top paper pad.  The supplies for all projects will be listed below. 

Here is  the sour cream container, using the cherry on top paper. It is filled with yummy, lifesavers. These are perfect little goodies for party favors, holiday treats, table place settings, and to share with friends.

Have a great day…

Be Happy.. And have a happy life crafting!
Supplies needed to make these 2 fun projects are listed below.

Bohemian collection

My morning started out like this…. 

 Knitting, and a cup of Earl Grey tea. My pattern ready to read, as I go.  Aahhh! Such peace….. Then that beautiful, darn  paper kept calling me, to come upstairs. I went through the, one more row, just one more row, regime. Those who knit can relate. And I couldn’t take it any more….So I relented……life is about choices after all. No sooner was I  upstairs, I came up with this collection.  The handmade straws are my fav. 


I am very excited about this bohemian paper…. It is everything gypsie and colorful! I had no problem creating with this lively,  paper that kept calling me.  You can get your Bohemian paper on June 2nd,  in my Store

The little sour cream container was introduced to me by  Maria Williams, another Stampin up demonstrator during a swap. Here’s a quick rundown on how to make it.

Cut paper to 6″x5″ – use sticky strip or fast fuse to adhere the long sides together and the bottom edge. Fill it with candy, give it a twist and seal the other end. And embellish  as you wish. Again, I have used all stampin’up products to create these items. You can probably find more detailed instructions on YouTube.  Search: sour cream candy holder. 

The little purse is all the craze, right now. You can find the tutorial by Caroline Hallett, a UK Stampin ‘Up demonstrator at: http://www.craftyhallett.co.uk/?p=2809 Enjoy!

I’m ready for the weekend…. Enjoy your family, friends and remember there is always time to create. 

Be happy …and have a happy life crafting!

Janette

Bokeh made simple

 During the storm yesterday, I kept myself busy re vamping a card using a technique that I learned a few months ago. The technique is referred to as the Bokeh effect. In photography, bokeh is a technique that photographers achieve with lighting. It’s when a photo has a fuzzy backround that’s quite colorful, and circular lights appear on the picture. You can duplicate this with water colors, in art. The method I chose to achieve a similar look is a bit simpler then water colors. There is no drying time and moves a little quicker ; and I’m all about quick, so I can move on to the next project. 

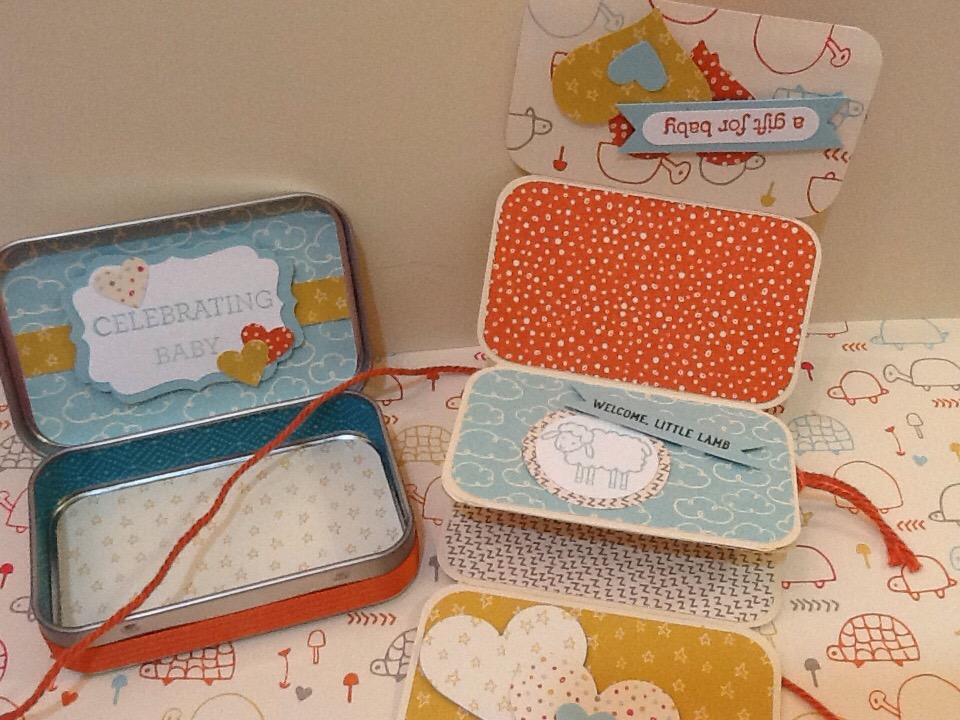
This first picture, is the card we made in one of our Tuesday classes. I’m sharing this one, to show the difference from the one I re vamped, yesterday. If you look closely you will notice that the black, stamped image is dull. This is because the white pigment ink or craft ink I used to soften the colors , and create the bokeh effect, which are the circles, muted the black ink.


In this picture, the black, stamped image is much brighter, the colors are brighter too.  I used less craft ink or white pigment ink.  The next few photos are my attempt to share with you the steps to make this card or one similar. My future goal is to make quick, video tutorials, but for now this will have to do. I still need to learn how to do a few more things on this blog, to get it dialed in….. Please feel free to contact me for questions .

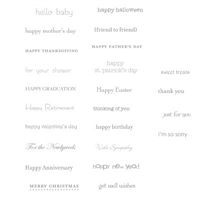
These are the stamp sets used to make the card above. See online Store for more details.

All the supplies are from Stampin’ up and are available in my online Store.

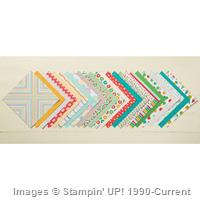
The cardstock I chose  to use are the new in colors.  I labeled the colors of the paper in the photo. Except for the tip top taupe, which is the card base. You can see the measurements to cut each layer before starting,  as well. 

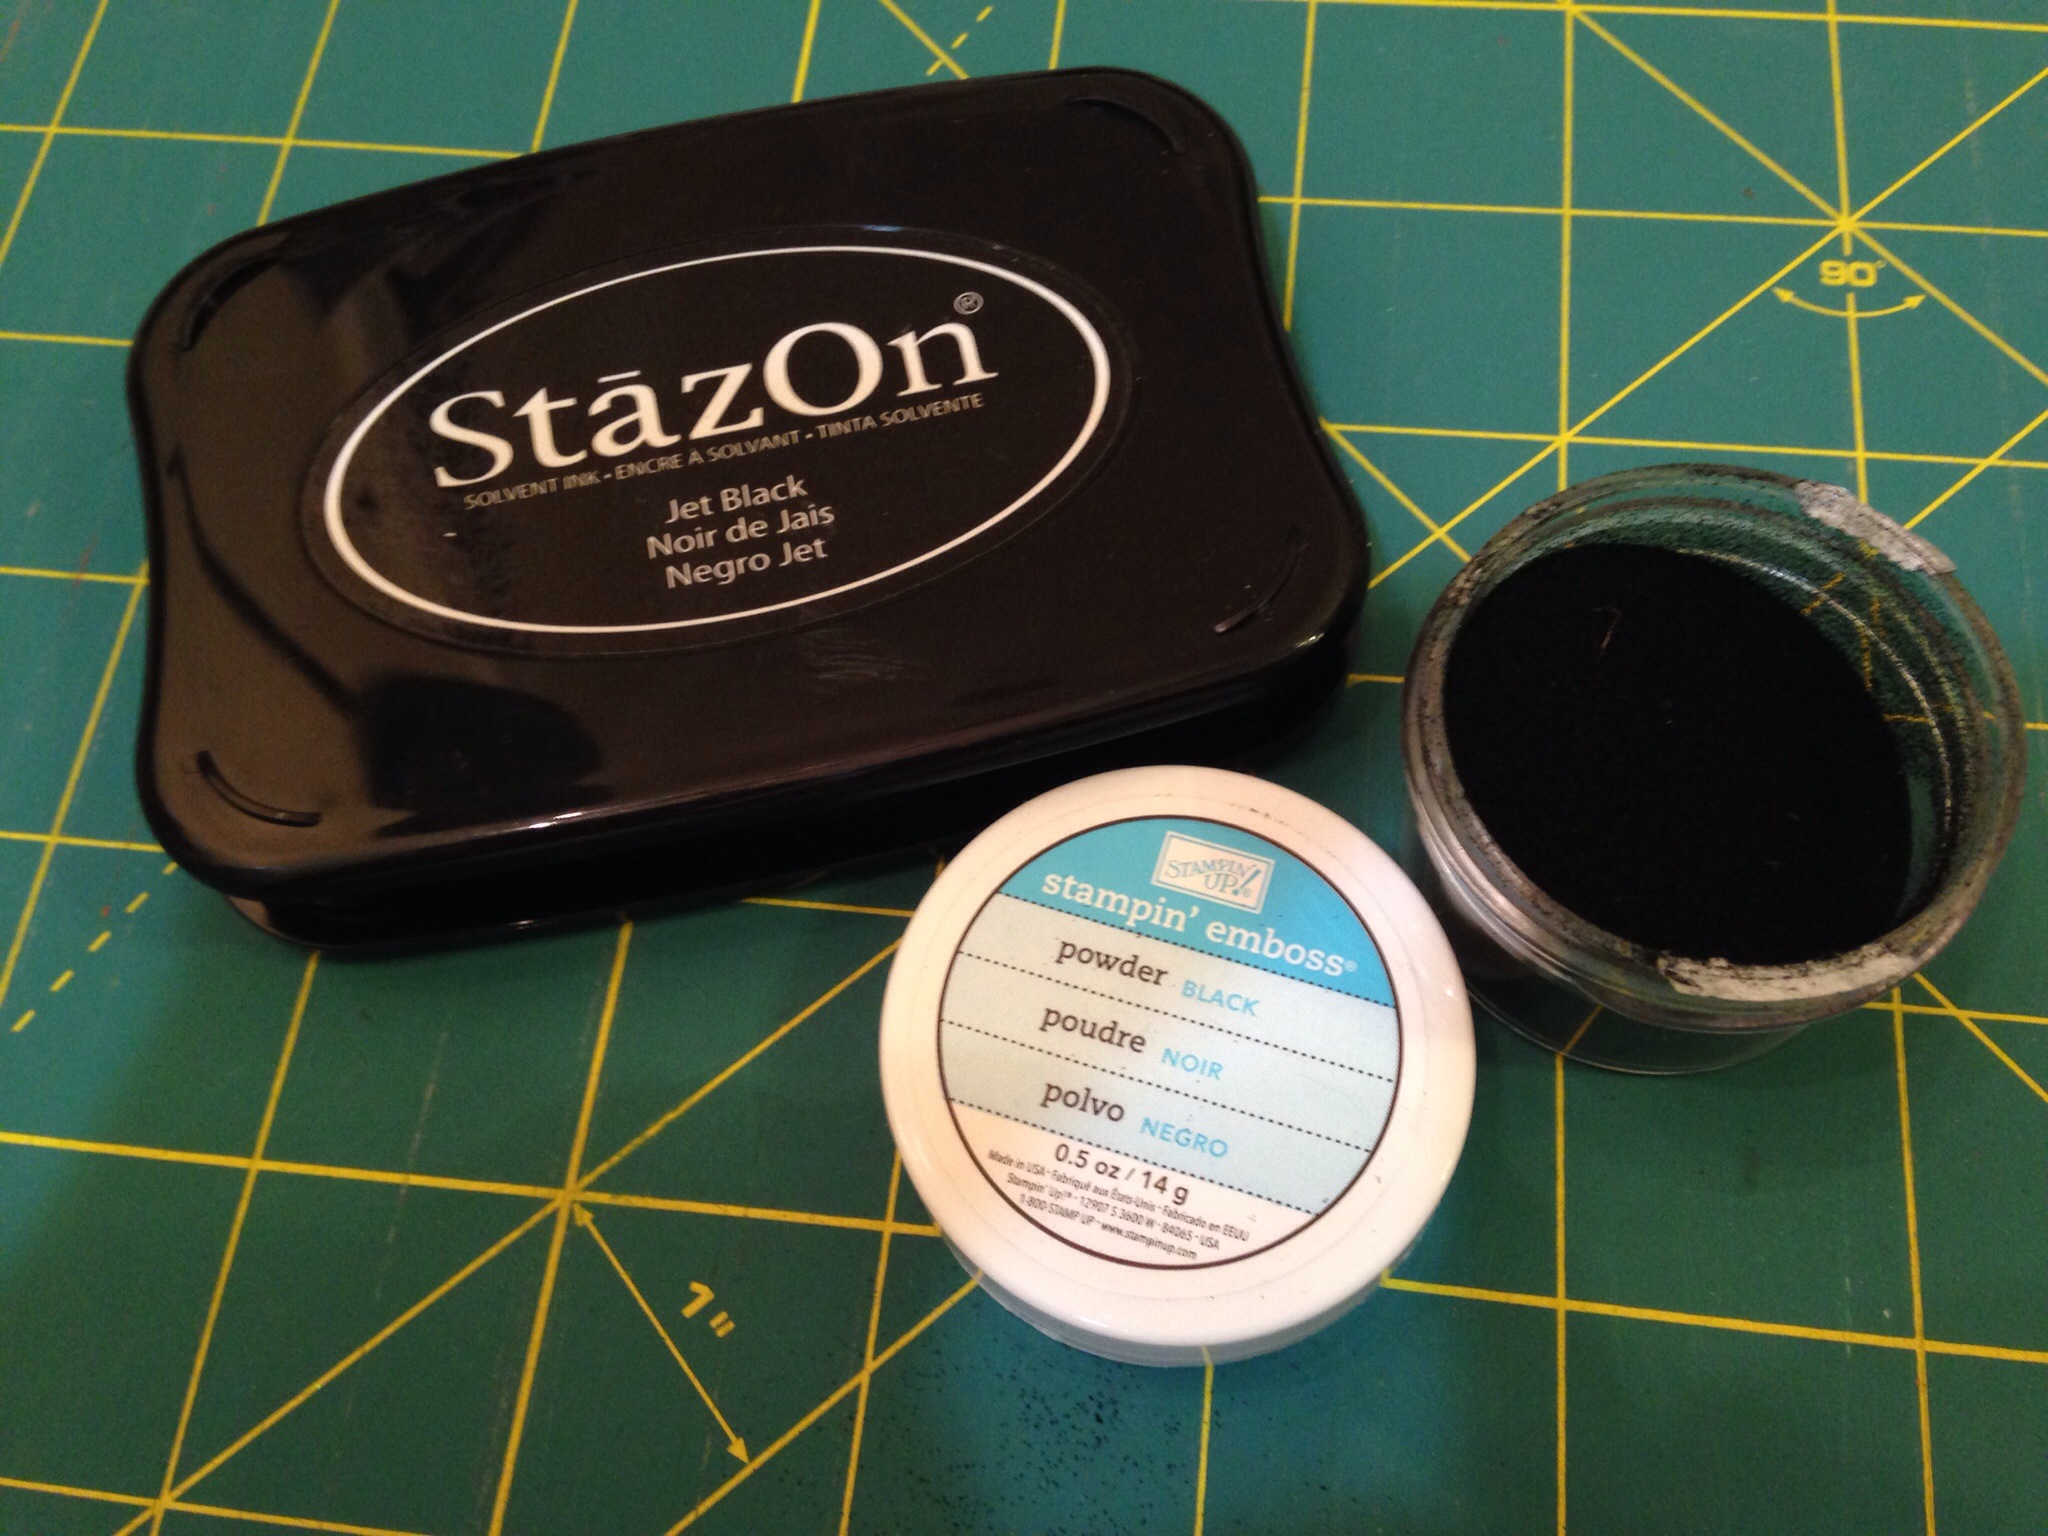
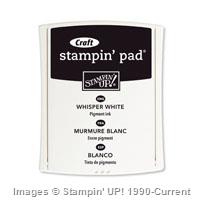
In this picture you can see the ink used to stamp the chosen images. Stamp them on the whisper white card stock (card topper).  After stamping the images, heat emboss the images with black embossing powder. This step is what made the images brighter and shiny. The embossing also made the image resistant to absorbing the colored inks and craft ink. You certainly can omit the embossing step, like I did in the  first one I made. It just won’t be as bright. As you can see by looking at the  two different pictures above.

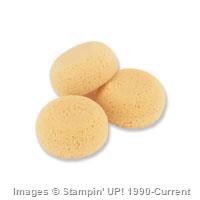
This next pictures shows the colored inks I used, which match the colors of the card stock. I took the sponge wedges dipped them in each of the colored ink and inked up the whisper white, piece of paper with the images already stamped on. Just randomly smear on the 3 different colors over the black image with the sponges.

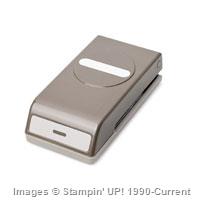
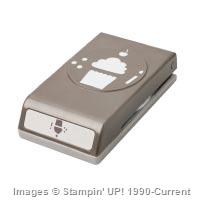
Here, you can see a piece of acetate paper that I punched 3 different size holes in, to make a stencil. Use the stencil to create the circles on top of the colored ink. In this picture you can also see the craft ink, which is white pigmented ink. I used a sponge dauber to lightly sponge the circles. Moving in circular motion and slightly over lapping them; also allowing a couple of the circles to go off the paper. This adds more dimension and character.

Tips: use the craft ink sparingly. Blot it off on scratch paper after dipping into the ink before applying it, to prevent botching.

Refer to picture of completed card to see placement of circles. The craft ink mutes the bright colors creating a fuzzy look and the circles represent the lights ….. This is a version of Bokeh, in card making.

Once you have completed all the steps, you can assemble your card layers.

This is my first written tutorial…I certainly hope it’s understandable.

This is a fun card to make and it moves quickly once you have the steps down…. Practice, practice!

I have several more cards and projects to share….. So stay tuned…..

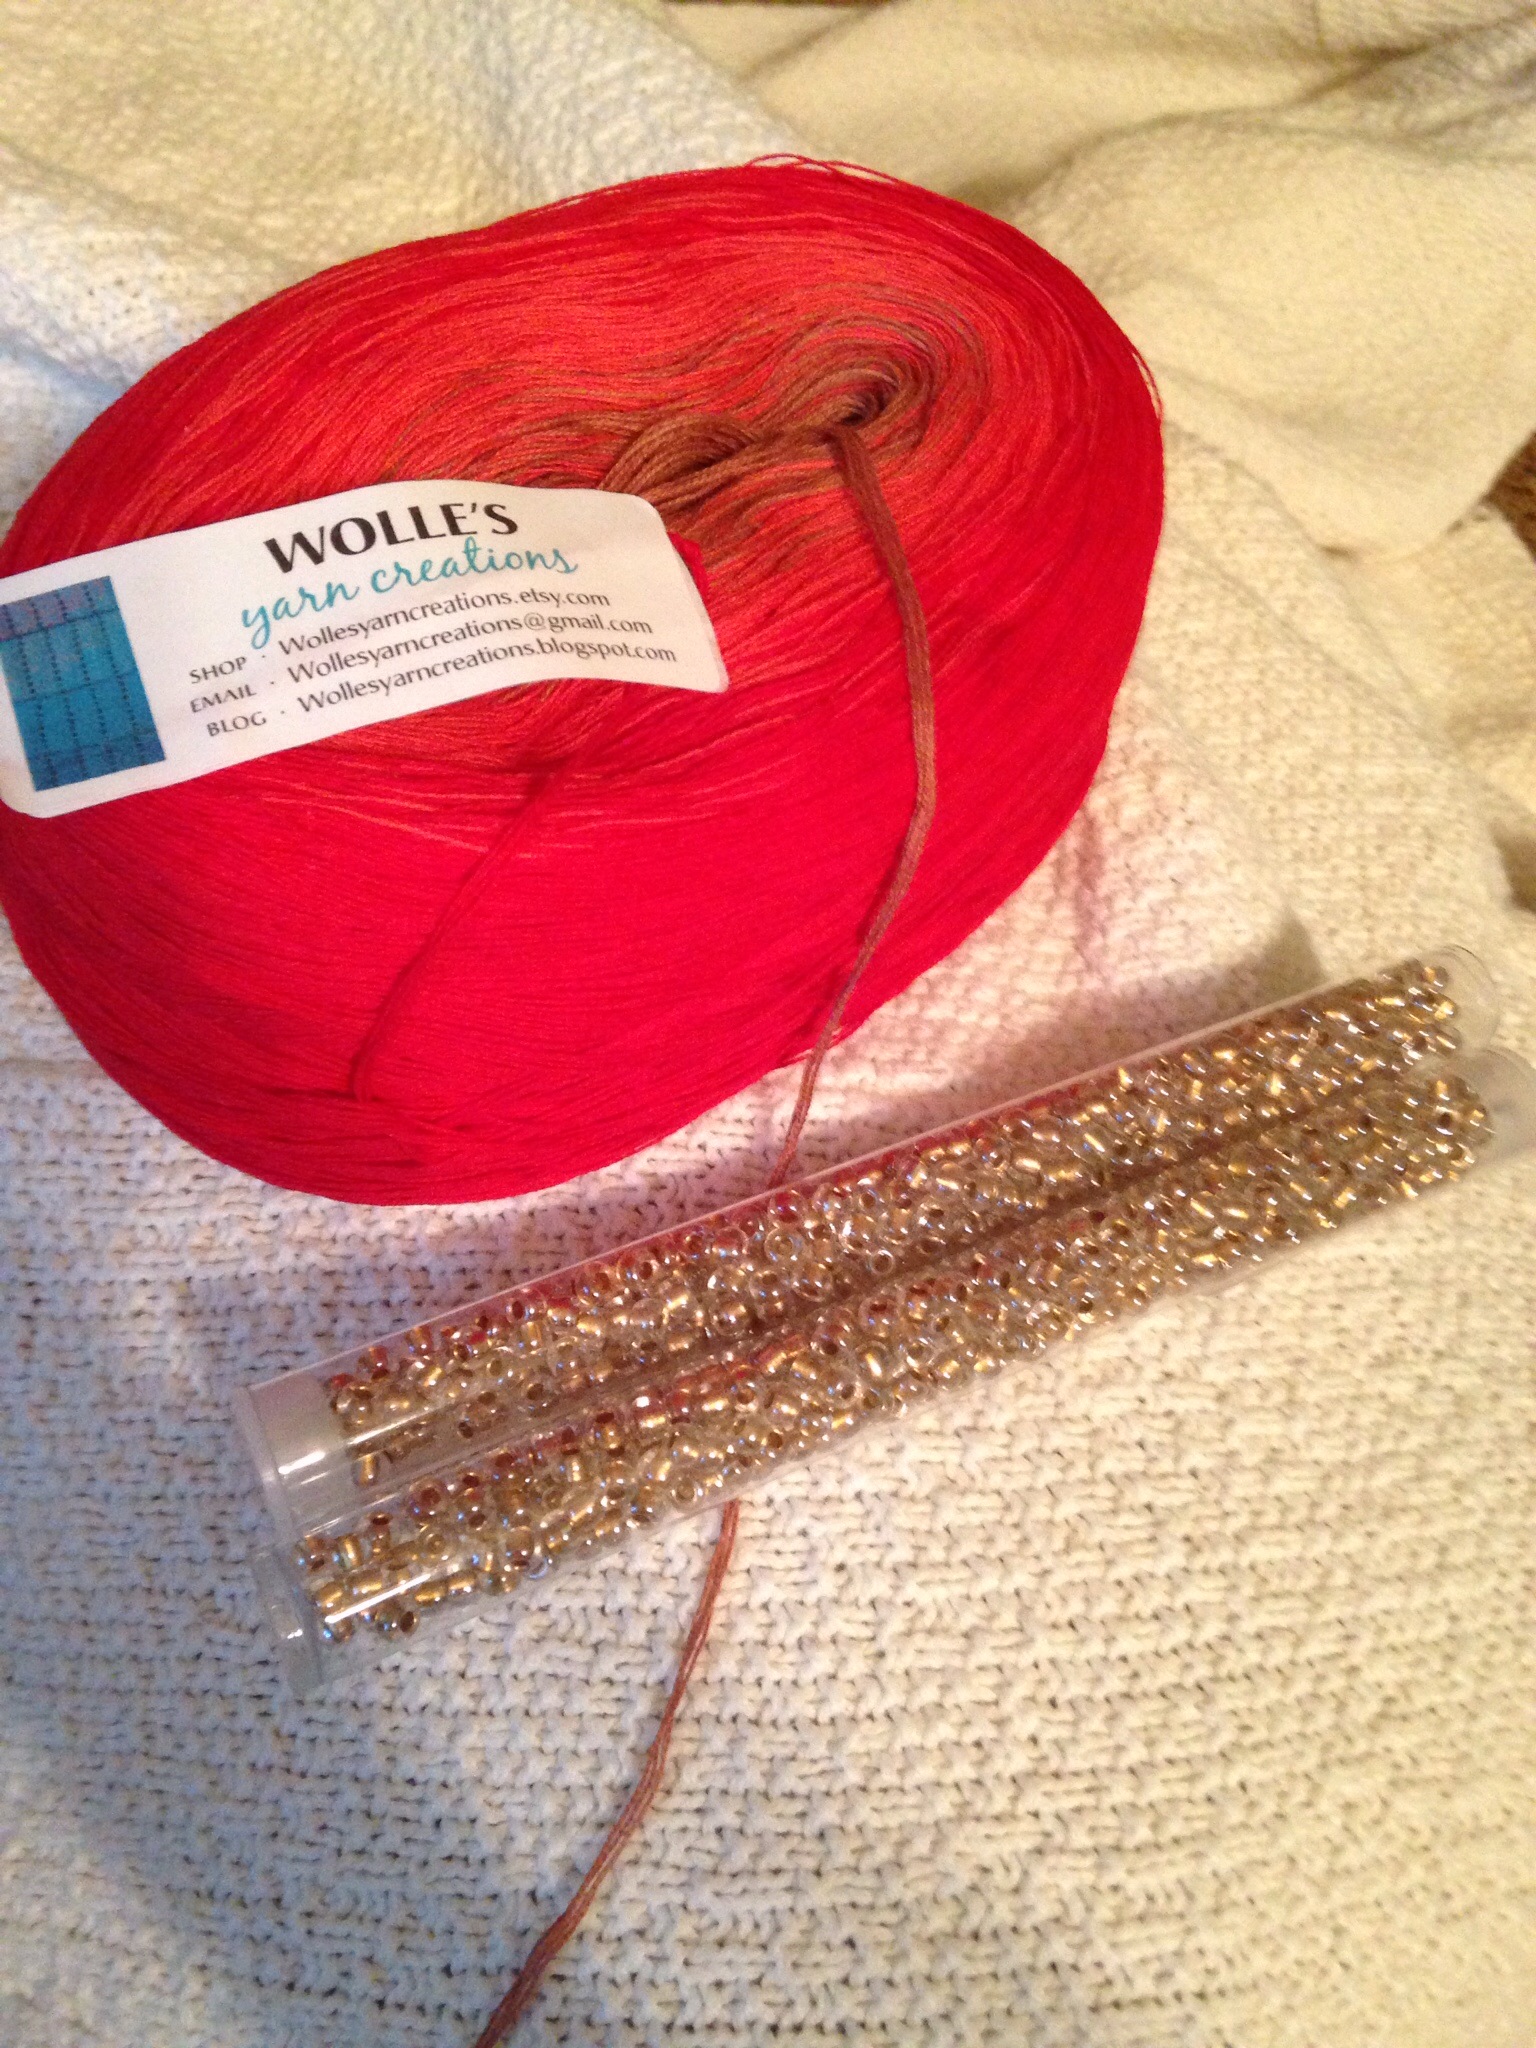
Knitting is hot on my list of things to do…. I’m on the verge of finishing up a couple projects and will be sharing them….

Hope you have been inspired.

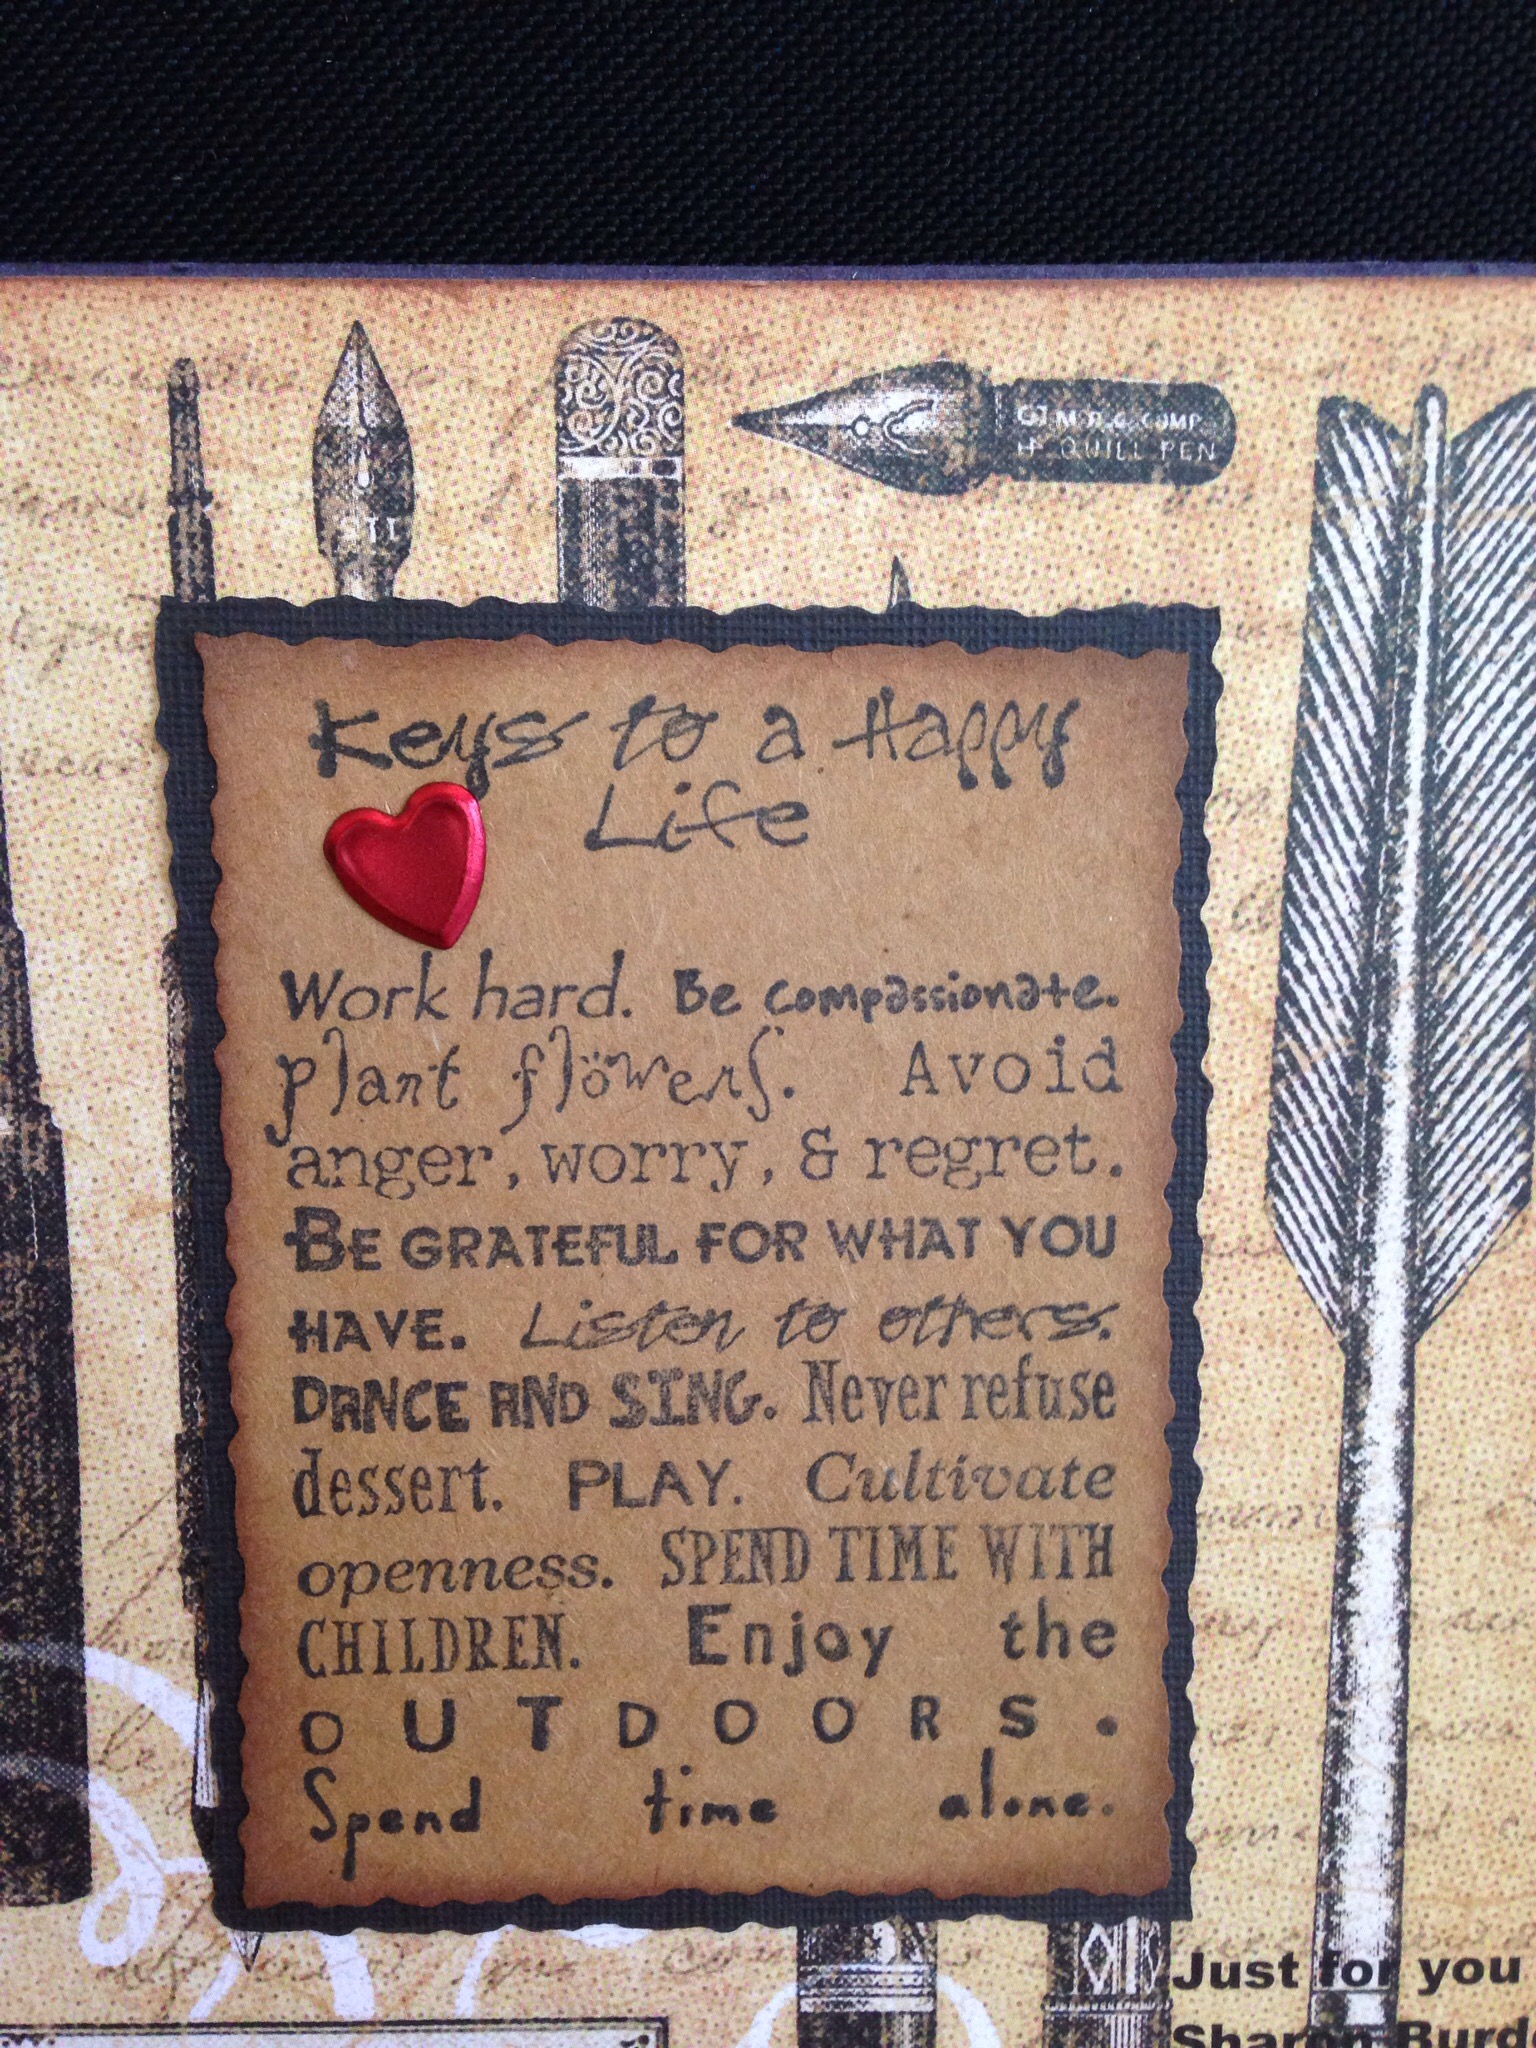
Be happy … And have a happy life crafting!

Janette

Here are the essential supplies to make this card: